
4 min read
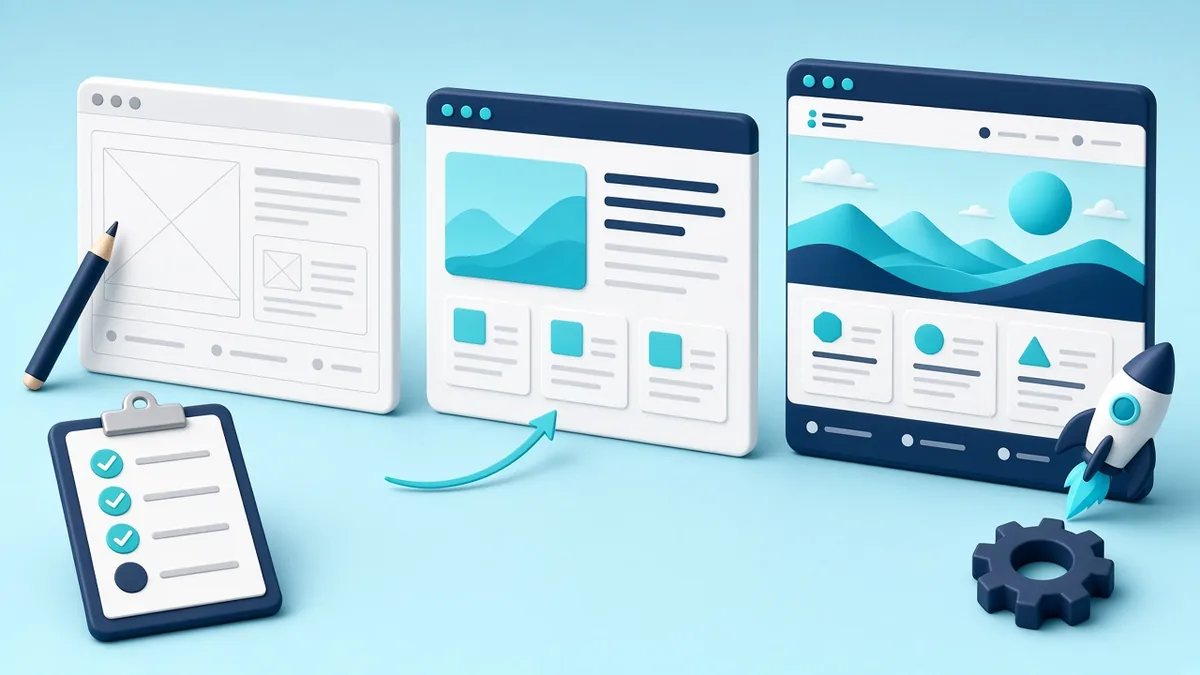
A website project goes more smoothly when everyone follows the same plan. Use this checklist from the first meeting to the weeks after launch.
| Stage | Main output | Who approves |
|---|---|---|
| 1. Plan | Goals, sitemap, budget, timeline | Owner or project lead |
| 2. Prepare content | Text, photos, legal pages | Owner |
| 3. Design | Approved mobile and desktop layouts | Owner |
| 4. Build | Working site on staging | Project lead |
| 5. Test | Fixed issues list | Project lead and owner |
| 6. Launch | Live site with tracking | Owner |
| 7. After launch | Updates, backups, reports | Website manager |
1. Plan
- Define the main goal of the site: enquiries, bookings, online sales or information.
- Describe your target visitors and what they need to find quickly.
- List the pages and features you need, and which ones can wait for a later phase.
- Agree on budget, timeline and who approves each stage.
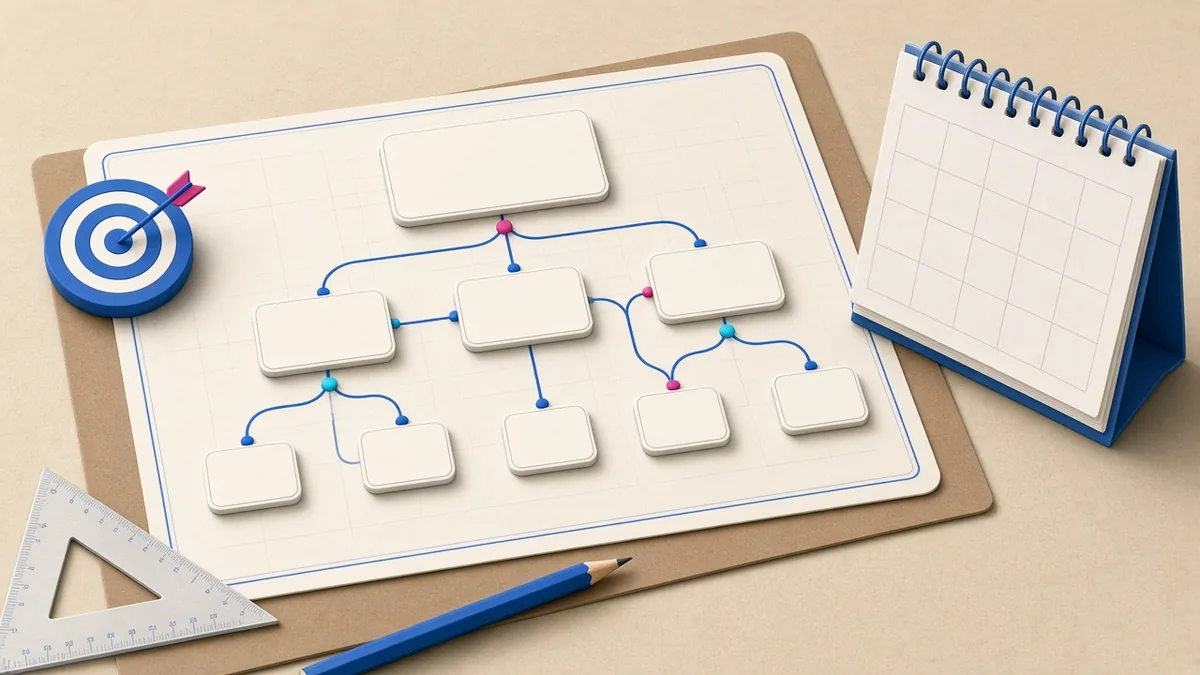
A short written brief keeps everyone aligned. One page covering the goal, audience, must-have pages, nice-to-have features, budget range and target launch date is usually enough. It also makes quotes from different developers easier to compare, because everyone is pricing the same scope.
2. Prepare content
- Write or collect text for every page. Content is the most common cause of delays.
- Gather your logo, photos, product details and prices.
- Prepare legal pages such as a privacy policy and terms.
Write for your visitors, not for yourself. Answer the questions customers ask most often—prices or price ranges, service areas, delivery times, payment methods and how to contact you—in plain language. Original photos of your team, shop or work build more trust than stock images.
If your site collects personal information through forms or accounts, your privacy policy should explain what you collect and why, in line with the Data Privacy Act of 2012.
3. Design
- Start with mobile layouts, since most Filipino visitors browse on phones.
- Make calls to action obvious: call, message, book or buy.
- Approve the design before development starts to avoid costly changes.
Good design is about clarity, not decoration. Keep navigation simple, use readable font sizes and strong contrast, and make sure buttons are large enough to tap with a thumb. Ask a few people outside the project to find key information on the mockups; where they hesitate shows what to fix.
4. Build
- Choose a platform that you can manage after launch, such as WordPress.
- Set up contact forms, payment options and any integrations.
- Optimise images and keep plugins to the minimum needed for speed.
Build on a staging copy first, so you can review the site without affecting visitors or search engines.
5. Test
- Check every page on different phones and browsers.
- Test forms, checkout and email notifications.
- Check loading speed on mobile data.
- Proofread all text and check every link.

6. Launch
- Connect the domain and install an SSL certificate.
- Set up Google Search Console, analytics and your Google Business Profile.
- Make a full backup.
Launch on a weekday morning when your team is available to fix issues, not late on a Friday. Watch forms, orders and error logs closely for the first few days.
If you are replacing an old website, redirect old page addresses to their new equivalents so you keep search rankings and visitors do not hit error pages.
7. After launch
- Keep WordPress, themes and plugins updated.
- Run automatic backups and test that they can be restored.
- Review analytics monthly and improve pages that do not perform.
Frequently asked questions
How long does a website project take?
It depends on size and how quickly content and approvals arrive. Content and feedback delays are the most common reasons projects run late.
Do I need a privacy policy?
If your website collects personal information through forms, accounts or orders, yes. It should explain what you collect and why.
What should happen after launch?
Regular updates, tested backups and a monthly review of analytics to improve pages that underperform.
