
7 min read
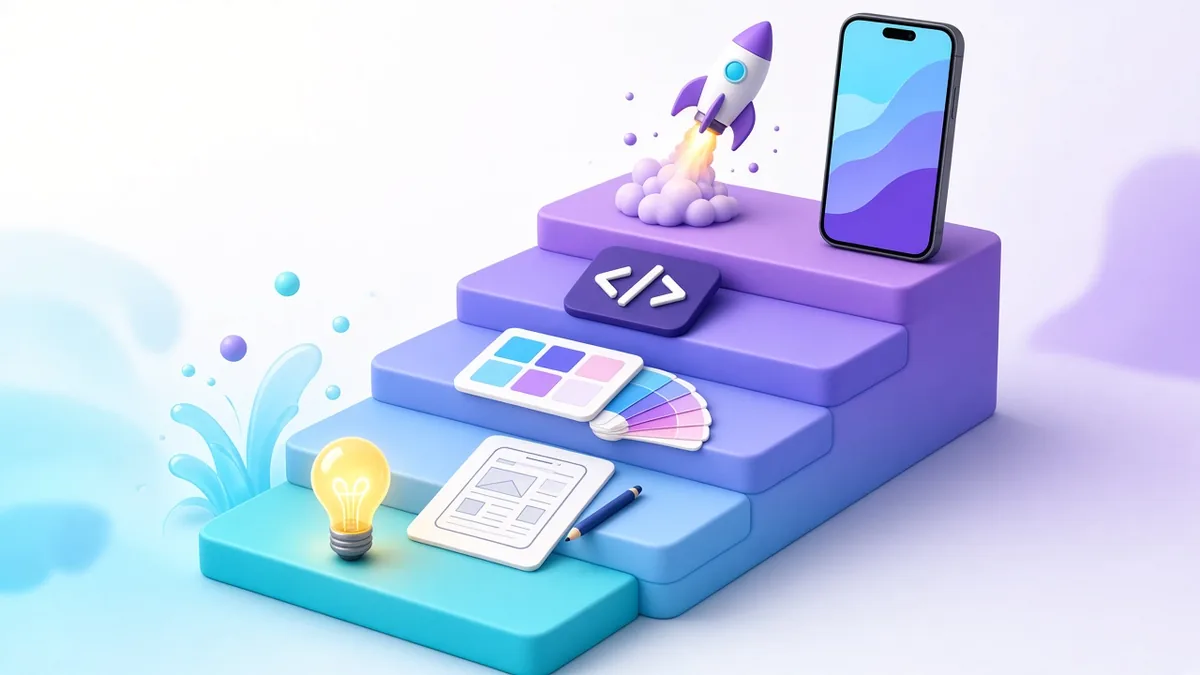
A mobile app project moves through eight main stages: discovery, scope and MVP definition, UX wireframes, UI design, architecture and backend setup, development in short cycles, testing on real devices and networks, and app store launch, followed by ongoing improvement. Knowing what happens at each stage, and what the developer needs from you, is the best way to keep an app on budget and on schedule.
This guide explains each step from the business owner’s side of the table.
The app development process at a glance
| Stage | Main output | Your role |
|---|---|---|
| 1. Discovery | Goals, users, risks and a rough roadmap | Explain the business, customers and constraints |
| 2. Scope and MVP | Feature list with priorities, user stories, estimate | Decide what launches first and what waits |
| 3. UX wireframes | Screen flows in simple black-and-white layouts | Walk through flows as if you were a customer |
| 4. UI design | Final screens with branding | Approve the look; supply logo and brand assets |
| 5. Architecture and backend | Server, database, APIs, admin panel structure | Provide accounts for payment, SMS, maps and hosting |
| 6. Development | Working builds delivered in cycles | Test each demo build and give feedback |
| 7. Testing | Bug fixes, performance checks, device coverage | Recruit testers; test real transactions |
| 8. Launch | Apps live on Google Play and the App Store | Own the developer accounts, approve listings |
| After launch | Updates, fixes, new features, monitoring | Watch reviews and data; prioritise improvements |
Stage 1: Discovery
Discovery answers the questions that decide everything else. Who is the primary user? What problem does the app solve for them? How will it make money? Which integrations are non-negotiable: payments, maps, SMS OTP, an existing POS or inventory system?
It also surfaces risks early. A delivery app needs riders on day one. A lending or e-wallet app has licensing requirements. A clinic booking app handles health information, which is sensitive personal information under the Data Privacy Act. Catching these before design saves expensive rework.
Stage 2: Scope and MVP definition
MVP stands for minimum viable product: the smallest version that real users can use and that proves the business works. The trick is being disciplined. List every feature you want, then sort them:
- Must have: the app does not work without it (sign-up, ordering, payment, order status).
- Should have: important, but users can manage without it at first (ratings, saved addresses).
- Could have: nice extras for later (referral rewards, dark mode, multiple languages).
Each must-have becomes a user story with acceptance criteria, for example: “As a customer, I can pay with GCash, and if the payment fails I see a clear message and can try another method.” These criteria become the checklist for testing later.
Stage 3: UX wireframes
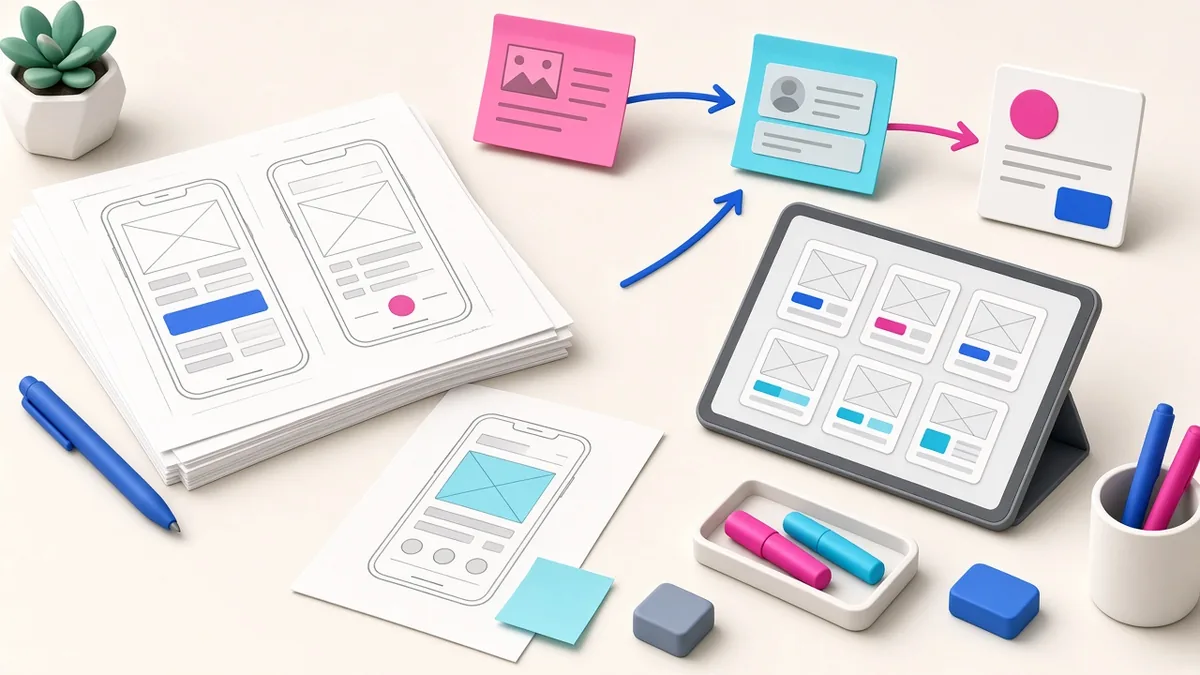
Wireframes are simple sketches of each screen and how they connect. They are cheap to change, so this is the time to argue about flows. Walk through the app as a customer on a crowded jeepney with one hand free and weak signal. Is the main action obvious? How many taps to reorder? What happens if the internet drops during checkout?
Stage 4: UI design
The designer applies your brand: colours, typography, icons and imagery. Good UI for Philippine users means large tap targets, readable text on budget screens, clear loading and error states, and wording your customers actually use. If your audience speaks Taglish, your buttons and messages can reflect that.
Stage 5: Architecture and backend
Behind every app is a backend: servers, a database, APIs that the app talks to, and an admin panel for your team. Decisions made here affect cost and reliability for years, such as where data is hosted, how payments are confirmed (webhooks, retries, reconciliation), and how the system handles many users at once during a promo.
This is also when third-party accounts are set up: payment gateway, SMS provider, email service, maps API, push notifications and cloud hosting. Wherever possible, these should be registered in your business’s name.
Stage 6: Development in cycles
Rather than disappearing for three months, a good team delivers working builds every week or two. Each build adds a complete slice of the journey, such as “customer can sign up and browse the menu”, so you can test real progress instead of reading status reports.
Your job in this stage is to install each build, try it, and send consolidated feedback quickly. Delayed feedback is one of the most common reasons apps launch late.
Stage 7: Testing on real devices and networks
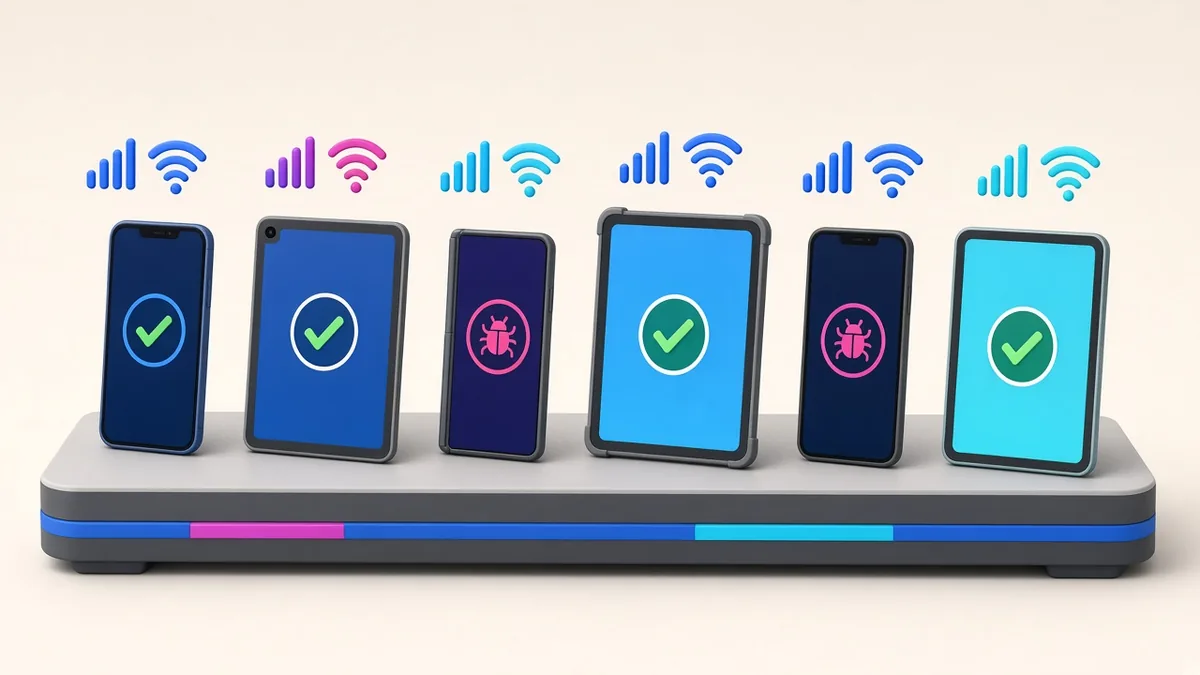
An app that works on the developer’s flagship phone on office Wi-Fi can fail on a three-year-old budget Android phone on mobile data. Testing should cover:
- A range of Android phones (different brands, screen sizes, OS versions) and at least one iPhone if launching on iOS
- Slow and unstable connections, including losing signal mid-transaction
- Payments: successful, failed, cancelled and pending, plus refunds
- Every user role: customer, rider or provider, merchant, admin
- Edge cases: wrong OTP, expired sessions, duplicate taps on “Pay”
Stage 8: App store launch
Publishing involves more than uploading a file. You need developer accounts (Google Play charges a one-time US$25 registration fee; the Apple Developer Program costs US$99 per year), store listings with screenshots and descriptions, a privacy policy URL, Google Play’s Data safety form, Apple’s privacy details, and content rating questionnaires.
Plan for these timing factors:
- Organisation developer accounts on both stores require a D-U-N-S number, which can take time to obtain.
- New personal Google Play accounts must run a closed test with at least 12 testers opted in for 14 consecutive days before applying for production access.
- Apple reviews most submissions within a day or two, but rejections for missing information or guideline issues add rounds.
After launch: the real work begins
Launch day is the start of learning. Watch crash reports, app store reviews and analytics: where do users drop off, which payment methods fail, how long do orders take? Plan regular updates to fix issues, improve conversion and keep up with yearly Android and iOS releases. Budget for maintenance from the start; an app that is never updated eventually stops working properly.
How long does the whole process take?
It depends heavily on scope. A white-label app that is rebranded and configured can launch in weeks. A custom MVP with one main user type often takes a few months. A multi-role marketplace with customers, riders, merchants and an admin panel takes longer. Store account setup and review can add several weeks if started late, so begin those early.
Frequently asked questions
Do I need technical knowledge to build an app?
No. You need a clear understanding of your customers and business rules, and the time to review designs and test builds. A good developer translates that into technical decisions and explains trade-offs in plain language.
Should I sign an NDA before sharing my app idea?
It is reasonable to ask for one, and many developers will sign. More important is a contract that clearly assigns ownership of the code and work to your business.
What documents should I receive at the end?
Source code or repository access, admin and server credentials, a list of third-party accounts, basic technical documentation and instructions for deploying updates.
Can I change features during development?
Yes, but changes affect cost and timeline. Working in short cycles makes it easier to adjust priorities without derailing the project.
More guides
- How Long Does It Take to Build a Website? A Realistic Timeline
- Native vs Hybrid vs Web App: Which Should Your Philippine Business Build?
- What Your Business Website Needs: 15 Must-Have Features for Philippine SMEs
- White-Label Apps Explained: Launch a Food Delivery, Ride-Hailing or E-Wallet App Faster
- Freelancer vs Web Development Agency in the Philippines: Which Is Right for Your Business?
