
4 min read
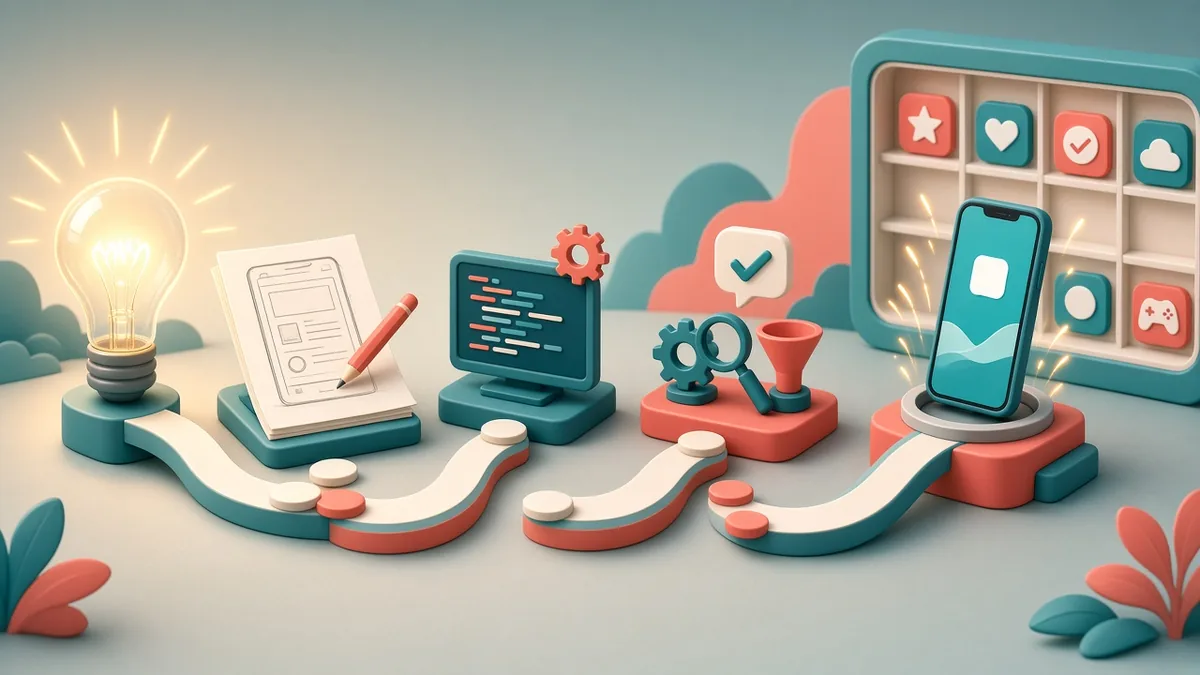
Building a mobile app involves more than coding. Here is the typical path from an idea to a published app on Google Play and the App Store.
| Stage | Main output |
|---|---|
| 1. Define the idea | Problem, users, business model, MVP scope |
| 2. Choose the approach | Native, cross-platform or white-label decision |
| 3. Design | Wireframes, visual design, user-tested flow |
| 4. Develop | App, backend and integrations |
| 5. Test | Bugs fixed on real devices |
| 6. Store listings | Accounts, screenshots, privacy details |
| 7. Submit and release | Approved app in the stores |
| 8. Maintain | Updates and improvements |
1. Define the idea
Write down the problem the app solves, who will use it and how it will make money or save costs. List the must-have features for the first version (the MVP) and leave the rest for later.
2. Choose the approach
Decide between native apps (separate code for Android and iOS), a cross-platform framework such as Flutter or React Native, or a white-label app that is rebranded for your business. The choice affects cost, speed and performance.
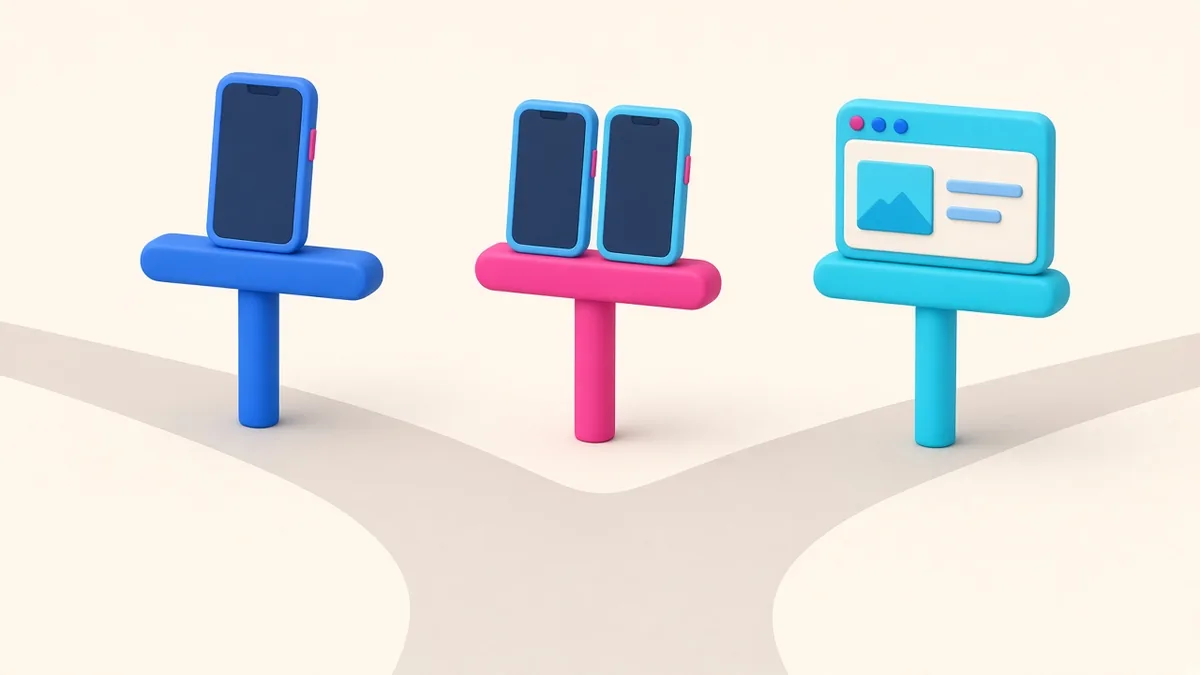
Native
Best performance and full access to device features; two codebases to maintain.
Cross-platform
One codebase for Android and iOS; usually lower cost and faster delivery.
White-label
Fastest to launch; less control over features, data and roadmap.
3. Design
Create wireframes of each screen, then the visual design. Test the flow with a few real users before development starts; changes are much cheaper at this stage.
4. Develop
The app and its backend (server, database and admin panel) are built in stages. Integrations such as payments, maps, SMS OTP and push notifications are added along the way. Ask for regular demos so you can give feedback early.
Make sure your contract states that you own the source code and accounts, and that the code is stored in a repository you can access.
5. Test
Test on real Android and iOS devices, including mid-range phones and slow mobile connections. Check payments, notifications and error handling, not just the happy path.
6. Prepare the store listings
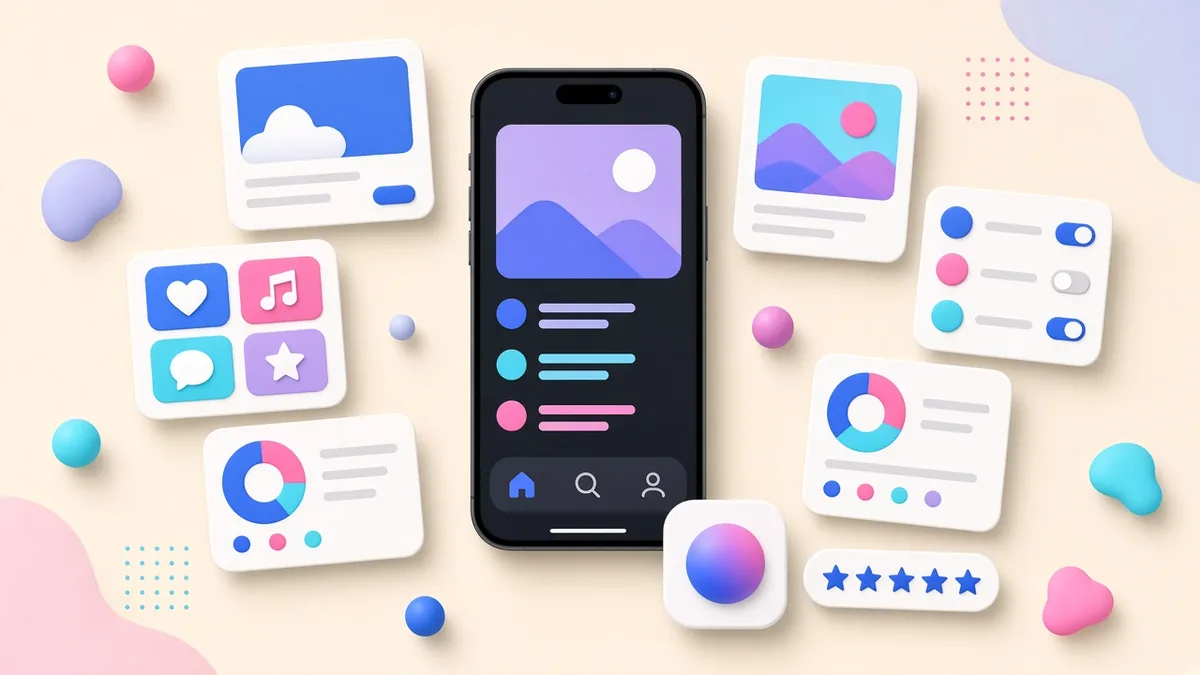
You need developer accounts, an app name, description, screenshots, icon, privacy policy and data safety information. Google Play requires new personal developer accounts to run a closed test with at least 12 testers for 14 days before production access.
- Developer accounts for Google Play and the App Store
- App name, short and full descriptions
- Screenshots for the required device sizes, and an icon
- Privacy policy URL and data safety or privacy details
- Test account for reviewers if the app needs a login
- Closed-test period planned for new personal Google Play accounts
7. Submit and release
Both stores review apps before publishing. Rejections are common for missing privacy details, broken features or policy issues, so follow the store guidelines carefully.
8. Maintain and improve
After launch, monitor crashes and reviews, release updates for new OS versions and add features based on how people actually use the app.
Frequently asked questions
How long does it take to build an app?
It depends on scope. A focused MVP is much faster than a full-featured app, and store setup and reviews add time at the end.
Should I choose native or cross-platform?
Cross-platform suits most business apps. Native can be better for apps that need top performance or advanced device features.
Why do app store submissions get rejected?
Common reasons include missing privacy information, broken features, unclear login access for reviewers and policy issues.
